
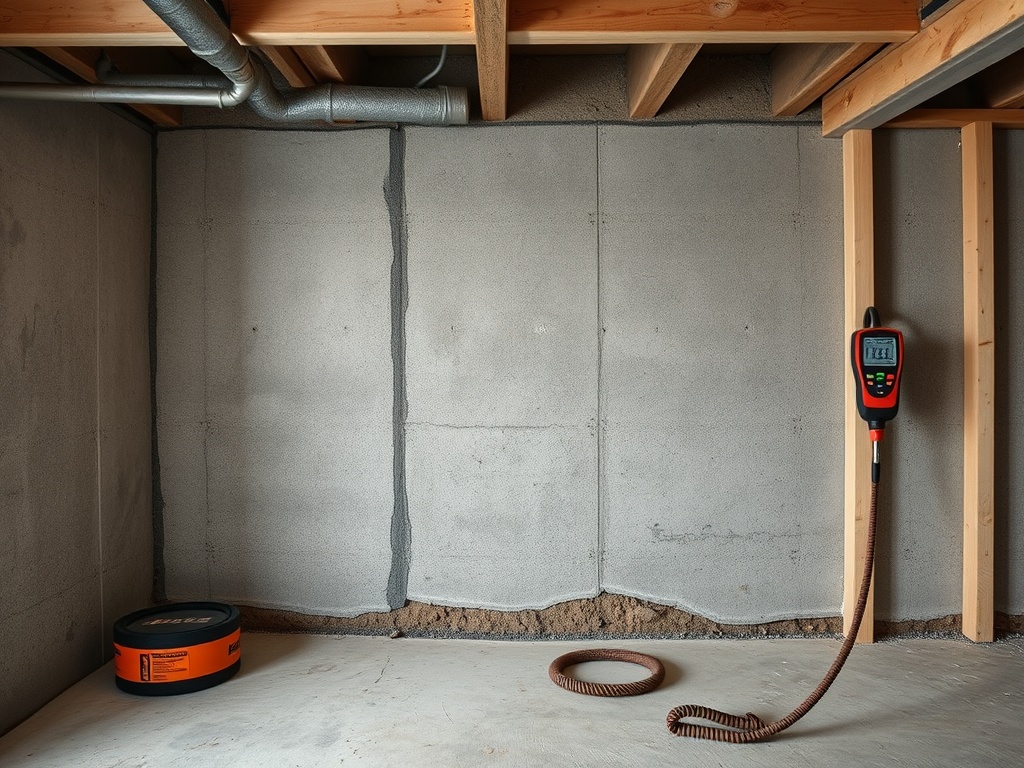
Basement finishing mistakes lead to moisture problems when the project hides water, vapor, condensation, or air leakage behind new walls and floors. The safest approach is to solve moisture conditions before adding finished materials.
TL;DR: Key takeaways for basement finishing moisture issues.
- Do not finish a basement until liquid water, vapor movement, drainage, and humidity are understood.
- Interior materials should allow the assembly to manage moisture for the local climate and foundation condition.
- Persistent dampness is a building-health and durability issue, not just a cosmetic concern.
The hidden risk behind a finished basement
Basements sit against soil, which means they can be affected by groundwater, surface drainage, vapor diffusion, capillary movement, air leakage, condensation, and plumbing leaks. Finishes can make the space more comfortable, but they can also hide a problem until odors, stains, mold, damaged flooring, or warped trim appear.
The EPA’s moisture control guidance emphasizes prevention during design, construction, and maintenance. The Department of Energy also notes that below-grade building components need both insulation and moisture control. Those principles apply before framing begins. The full EPA moisture control guidance is a useful resource for design, construction, and maintenance context.
The key decision is not which flooring looks best. It is whether the foundation, drainage, air sealing, insulation, and drying path support finished materials.
Mistake one: covering active water entry
Paint, panels, flooring, or framed walls do not solve active leakage. Water entering through cracks, window wells, floor-wall joints, plumbing penetrations, or poor exterior drainage must be addressed first. Otherwise, the new finish becomes a cover over an unresolved condition.
Owners should look for staining, efflorescence, musty odors, damp corners, rusted metal, swollen trim, and humidity swings. A dry week is not proof that the basement is dry under seasonal rain or snowmelt.
Budget planning should include investigation and correction before finishes. Moisture control is not an upgrade after the fact. This connects directly to how to build a realistic construction budget from scratch because hidden water issues can reshape allowances and scope.
| Review point | What to check | Why it matters |
|---|---|---|
| Scope clarity | Confirm assumptions, exclusions, owner decisions, and field constraints. | Prevents vague expectations from becoming changes or rework. |
| Schedule exposure | Identify approvals, procurement, access, inspections, and dependencies. | Keeps hidden waiting time visible before crews are affected. |
| Documentation | Tie decisions to drawings, logs, photos, contracts, or approved reports. | Creates a record that can be used by owners, contractors, and maintenance teams. |
Mistake two: trapping vapor in the wrong place
Vapor control depends on climate, insulation type, foundation material, and assembly design. A layer that seems protective can trap moisture if it prevents drying in the direction the assembly needs. This is why generic advice can be risky. The DOE moisture control guidance also explains why climate and assemblies matter.
Common trouble spots include impermeable floor coverings over damp slabs, interior plastic behind drywall without proper assembly design, and cavity insulation against cold foundation walls where condensation can occur.
A qualified contractor or building professional should evaluate the assembly, not just the room appearance.
Mistake three: ignoring air and humidity
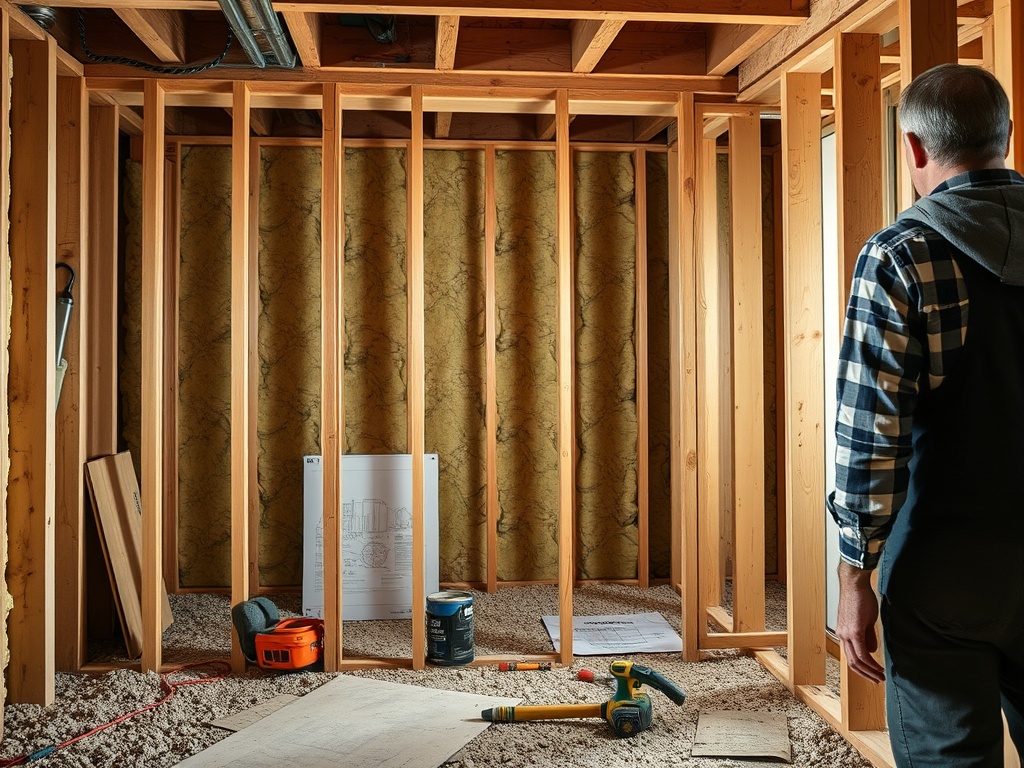
Moisture is not only liquid water. Warm humid air can leak into cooler cavities and condense. Poor ventilation, oversized humidification, unsealed rim joists, and unbalanced HVAC can all contribute to basement dampness.
Humidity should be monitored, especially after finishing. Dehumidification, drainage, air sealing, and insulation may all play a role depending on the house.
Safety observations are useful even in residential work: repeated notes about condensation, odors, or wet spots are leading signals that the assembly needs attention.
A moisture-first finishing checklist
Confirm exterior drainage, gutters, grading, window wells, cracks, sump function, plumbing, slab moisture, wall moisture, air leaks, insulation approach, flooring compatibility, and HVAC strategy. Document conditions with photos before covering walls or floors. For related concrete concerns, review common slab-on-grade construction errors.
Choose materials that fit the risk. Moisture-resistant does not mean moisture-proof. Manufacturer instructions, local code, and building-science guidance should be followed.
Educational disclaimer: this content is for general informational purposes only. It is not engineering, legal, code, mold remediation, health, compliance, or project management advice.
Moisture review habits for basements
A practical way to use this guidance is to turn the article topic into a short review conversation before the work moves forward. For basement finishing moisture issues, the discussion should include who owns the decision, what information is reliable, what is still assumed, and what action would change if new information appears. That keeps the topic from becoming a general idea that everyone supports but nobody manages.
Documentation should be simple enough for field and office teams to maintain. Meeting notes, photos, marked drawings, schedules, inspection records, and approval logs are useful only when they are organized and easy to retrieve. The goal is not to create a paperwork burden. The goal is to create a reliable memory for decisions that may matter during pricing, sequencing, quality review, maintenance, or dispute prevention.
Owners and contractors should also separate preference from requirement. A preferred method may be efficient or familiar, but a requirement comes from the contract, code, manufacturer instructions, engineered design, safety regulation, or authority having jurisdiction. When those categories are mixed together, teams may overstate certainty or miss a mandatory step.
The strongest teams revisit assumptions at each milestone. Early planning may rely on broad allowances and conceptual details. Design development should replace assumptions with specifications, quantities, and coordinated drawings. Construction should replace planned conditions with verified field information. Closeout should preserve what was installed, changed, tested, or accepted for future maintenance.
A final review should ask three plain questions: what could go wrong, how would we know early, and who has authority to respond? Those questions keep the article useful beyond reading. They turn the concept into a management habit that supports safer work, clearer budgets, cleaner contracts, and better long-term building performance.
A moisture log with dates, photos, and readings can help distinguish a one-time spill from a persistent building condition.
Material storage during the project matters too. Drywall, trim, flooring, and insulation should not be stored in a damp basement before the moisture conditions are understood.
Finished basements also need maintenance expectations. Downspouts, grading, sump pumps, dehumidifiers, and HVAC filters still need attention after the renovation. A good finish plan tells the owner what to watch after the room looks complete.
Basement work benefits from a waiting period after major moisture corrections. Observing the space through rain, snowmelt, or humid weather can reveal whether drainage and air control are working before the wall assembly is closed.
Moisture checks before finishing
Use this article as an educational starting point, then confirm project-specific requirements with qualified professionals, current documents, and the authority responsible for the work. The best next step is to turn the key questions above into a short review checklist before money, schedule, or materials are committed.